Replacing your roof is a big investment, and if you’ve never gone through the process before, it can feel a bit overwhelming. You may be wondering: how long will it take? What’s involved in the process? Will my home be a mess during the installation? Don’t worry—we’ve got you covered.
In this blog, we’ll walk you through each step of the roof replacement process, so you know exactly what to expect from start to finish. With the right knowledge, you can feel confident and prepared for the project ahead.
Step 1: Initial Inspection and Estimate
Before any work begins, the first step is scheduling an inspection with a roofing contractor. During this phase, the contractor will assess the condition of your existing roof to determine whether it needs a complete replacement or if repairs are enough.
- What to Expect: A professional roofing contractor will examine your roof’s structure, look for any damage (e.g., missing or curled shingles, leaks, or signs of wear), and evaluate its overall lifespan. They’ll also check the attic for any signs of moisture or damage that could affect the roof's integrity.
- Estimate: Once the inspection is complete, the contractor will provide you with a detailed estimate. This estimate will include the costs of materials, labor, and any additional work required (such as repairing underlying structures or replacing damaged decking). Make sure to ask for a written estimate and clarify any questions you may have about the process.
Step 2: Choosing Your Roofing Materials
Now that you know your roof needs replacing, it’s time to select the materials that best suit your home and budget. There are various roofing options to consider, from asphalt shingles to metal roofing, and each has its pros and cons.
- What to Expect: Your roofing contractor will guide you through the material options available for your area and budget. Some factors to consider include durability, energy efficiency, aesthetic preferences, and the climate in your region. Asphalt shingles are the most common and cost-effective, while metal roofs offer long-lasting protection but at a higher cost.
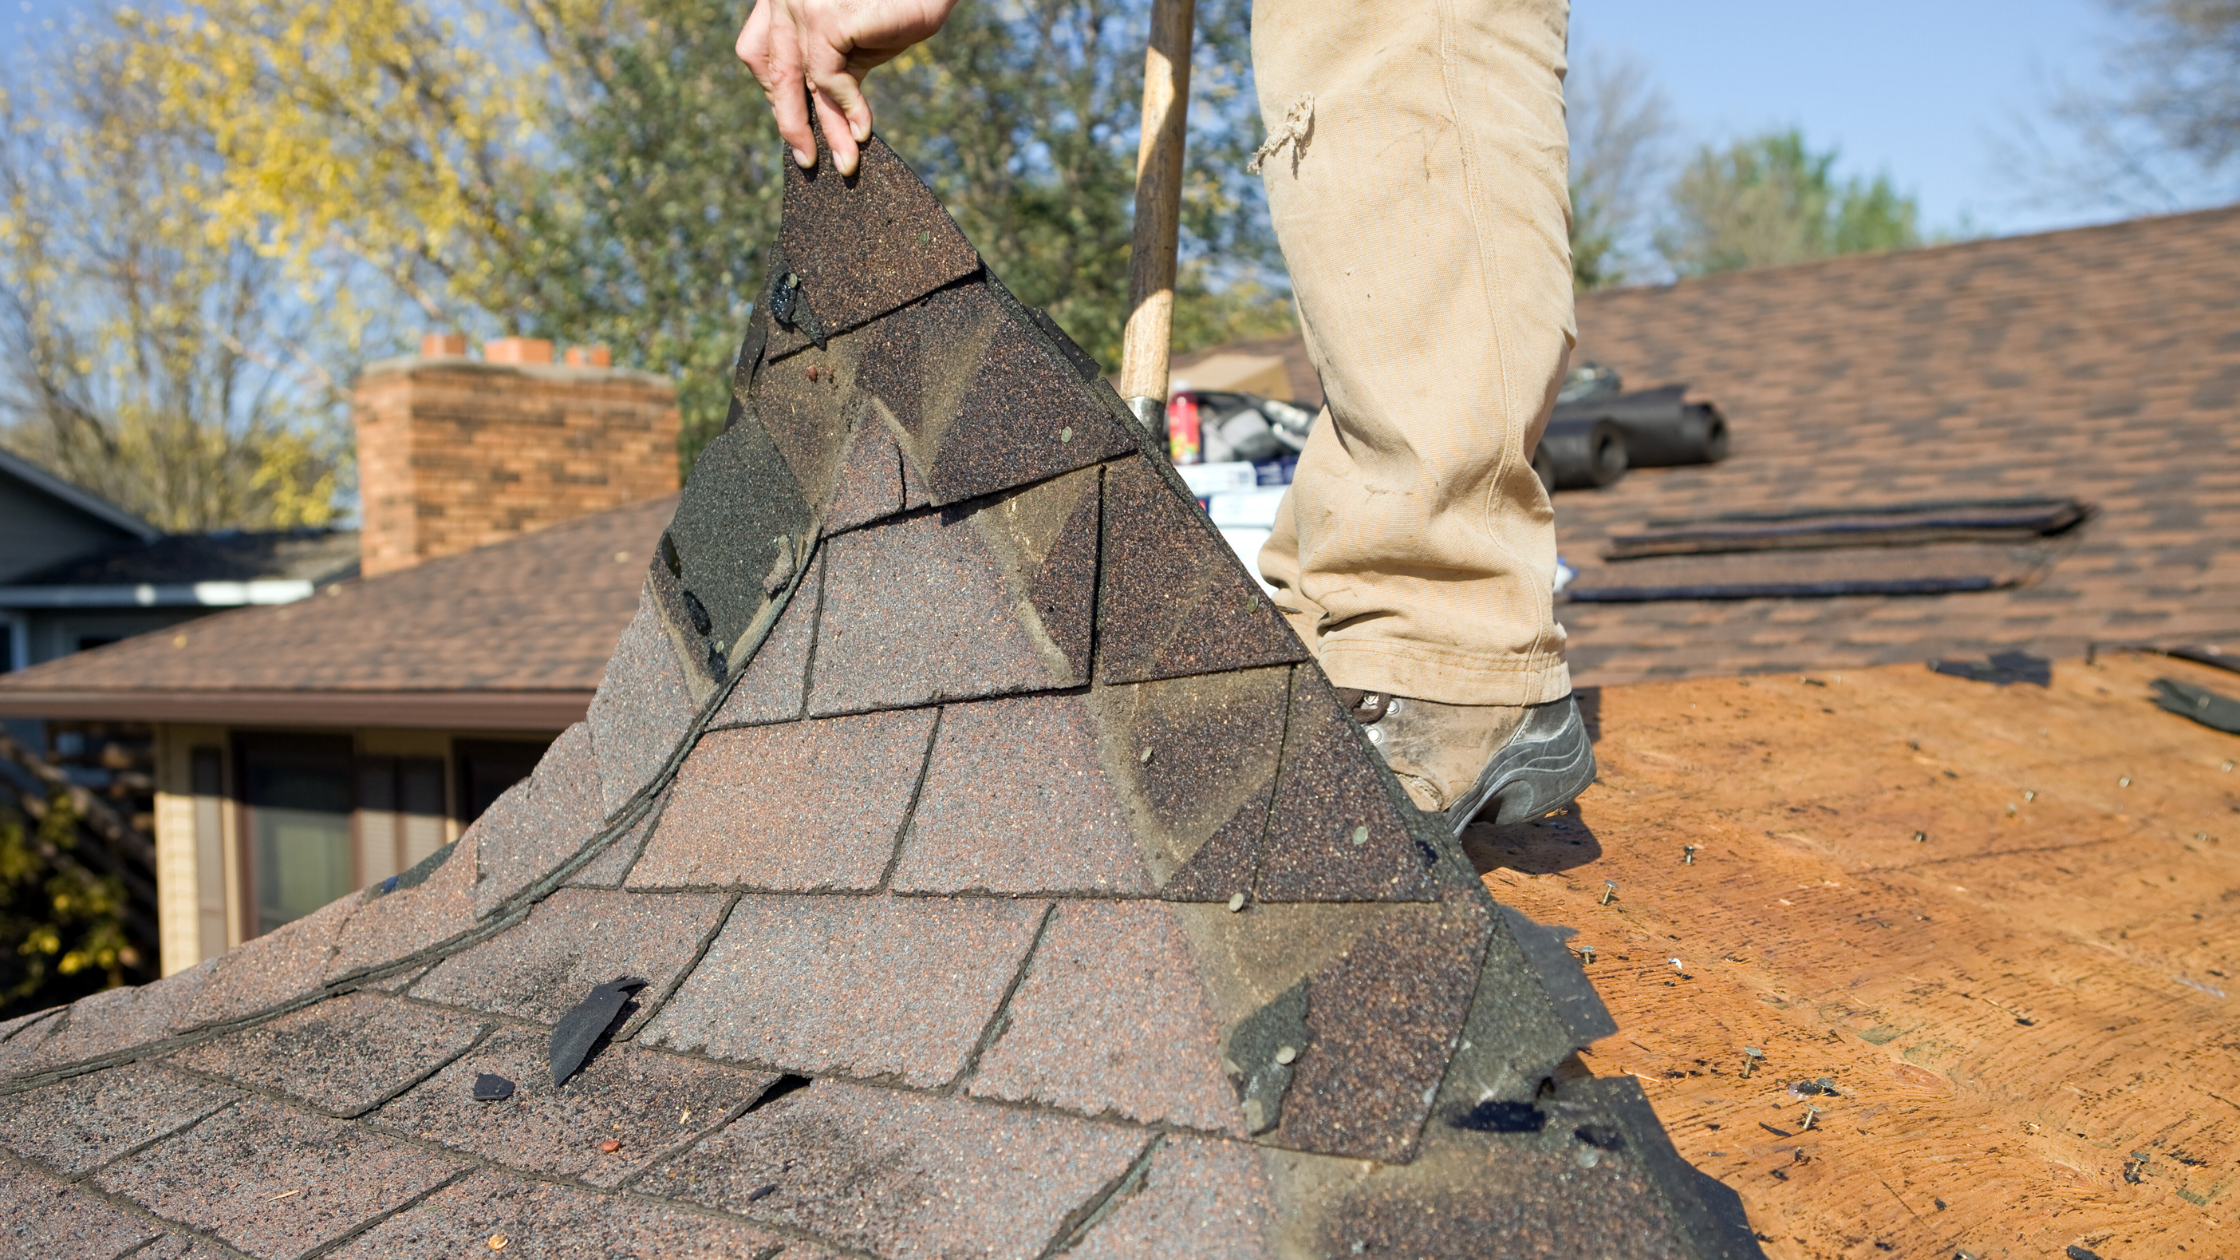
Step 3: Preparation and Removal of Old Roof
Once you’ve finalized the material choice, it’s time to get the roof ready for installation. The preparation stage involves removing the old roofing materials and ensuring the roof deck is in good condition for the new installation.
- What to Expect: On the day of the replacement, the roofing crew will arrive early in the morning to begin preparations. They’ll set up safety equipment, protect your landscaping, and place tarps or plywood around your home to catch debris. If you have a flat or low-pitched roof, they may need to install scaffolding or a ladder system for safe access.
The next step is removing the old roofing materials. This includes stripping away shingles, underlayment, and any damaged flashing. This can take anywhere from several hours to a full day, depending on the size and complexity of your roof.
- Noise and Mess: Expect loud noises from hammers, nails, and other equipment as the old materials are removed. There will also be debris on the ground, so be sure to keep pets and children away from the work area. The roofing team will work efficiently to minimize the mess and ensure safety.
Step 4: Installation of New Roof
Once the old materials are removed and the roof deck is prepared, it’s time to install the new roof. This stage is where the transformation happens.
- What to Expect: The installation process typically starts with the installation of new underlayment—a protective barrier that helps prevent water damage. Next, your chosen roofing material (shingles, tiles, or metal) is carefully installed, starting from the roof’s edge and working upwards.
During this phase, the contractor will also install additional features such as flashing around chimneys and vents, as well as ridge caps for ventilation. Depending on the size of the roof, installation can take several days.
- Weather Considerations: Roof installation is best done in dry, mild weather. If unexpected weather conditions arise, your contractor may need to reschedule the work to avoid compromising the roof’s integrity during installation.
Step 5: Clean-Up and Final Inspection
After the new roof is installed, the final step is to clean up the job site and conduct a thorough inspection to ensure everything has been completed to your satisfaction.
- What to Expect: The roofing crew will clean up any leftover debris, nails, and roofing materials from the worksite. They may use a magnetic tool to carefully search for stray nails that could pose a hazard to you, your family, or pets. It’s important to make sure your property is left in good condition.
Once the cleanup is complete, your roofing contractor will conduct a final inspection. This ensures that the new roof meets all local building codes and that there are no issues with installation. They’ll also address any remaining concerns you might have and walk you through maintenance tips to extend the life of your new roof.
- Final Payment: After the work is completed and you’re satisfied with the results, you’ll make the final payment. Make sure to keep any warranties and maintenance documentation provided by the contractor for future reference.
At SJ Winn Construction, we are committed to helping homeowners avoid roofing disasters by providing expert inspections, repairs, and replacements. Give us a call for a FREE estimate. www.sjwinnconstruction.com